Getting Started 🚀
In this tutorial you will learn how to create a MobX version of the default Flutter "counter" app.

Prepare
- Before starting this tutorial make sure you have flutter installed and know how to create a new flutter project.
- Create a new flutter project on your computer to start.
Install Dependencies
Add the following dependencies to your pubspec.yaml file.
dependencies:
mobx: ^2.0.6+1
flutter_mobx: ^2.0.4
Next add the following dev_dependencies:
dev_dependencies:
build_runner: ^2.1.10
mobx_codegen: ^2.0.5+2
In your project folder, run this command to fetch all the packages:
flutter pub get
At this point you should have all the necessary packages to continue development.
Add a Store
Now, let's create a MobX store. A store in MobX is a way of collecting the related observable state under one class. The store allows us to use annotations and keeps the code simple. Create a new file counter.dart in \lib folder and add the following code to it.
import 'package:mobx/mobx.dart';
// Include generated file
part 'counter.g.dart';
// This is the class used by rest of your codebase
class Counter = _Counter with _$Counter;
// The store-class
abstract class _Counter with Store {
int value = 0;
void increment() {
value++;
}
}
The interesting parts here are:
- The abstract class
_Counterthat includes theStoremixin. All of your store-related code should be placed inside this abstract class. We create aCounterclass to blend in the code from thebuild_runner. - The generated code will be inside the part file:
counter.g.dart, which we include with thepartdirective. Without this, thebuild_runnerwill not produce any output. The generated file contains the_$Countermixin.
Note
It is essential to use proper casing for the file name, else the
build_runnerwill not generate any output. Since our file is calledcounter.dart, the part file must be named ascounter.g.dart(note the lowercase letters)
- The
@observableannotation to mark thevalueas observable. - Use of
@actionto mark theincrement()method as an action.
Run the following command inside your project folder. This generates the code in counter.g.dart, which we have already included as part file.
flutter pub run build_runner build
On the command-line, here's the output we got from running it. Yours might be slightly different.
➜ [mobx_getting_started]> flutter packages pub run build_runner build
[INFO] Generating build script...
[INFO] Generating build script completed, took 319ms
[INFO] Initializing inputs
[INFO] Reading cached asset graph...
[INFO] Reading cached asset graph completed, took 76ms
[INFO] Checking for updates since last build...
[INFO] Checking for updates since last build completed, took 705ms
[INFO] Running build...
[INFO] 1.1s elapsed, 0/3 actions completed.
[INFO] 6.7s elapsed, 2/3 actions completed.
[INFO] 7.7s elapsed, 3/3 actions completed.
[INFO] Running build completed, took 7.7s
[INFO] Caching finalized dependency graph...
[INFO] Caching finalized dependency graph completed, took 33ms
[INFO] Succeeded after 7.8s with 2 outputs (6 actions)
Stay on watch
If you are making changes to the store and want to generate
*.g.dartfiles automatically, you can use the following command:
flutter pub run build_runner watchStarting Clean
Sometimes you may have an error running this command due to existing files, possibly generated from an earlier version of
build_runner. In that case, you can add the following flag to delete the*.g.dartfiles before generating them.flutter pub run build_runner watch --delete-conflicting-outputs
Connect the Store and add an Observer to your Widget
Now comes the part where we connect the MobX store to the Widget. In your main.dart file, replace the code with the following:
import 'package:flutter/material.dart';
import 'package:flutter_mobx/flutter_mobx.dart';
import 'counter.dart'; // Import the Counter
final counter = Counter(); // Instantiate the store
void main() => runApp(MyApp());
class MyApp extends StatelessWidget {
// This widget is the root of your application.
Widget build(BuildContext context) {
return MaterialApp(
title: 'MobX',
theme: ThemeData(
primarySwatch: Colors.blue,
),
home: const MyHomePage(),
);
}
}
class MyHomePage extends StatelessWidget {
const MyHomePage();
Widget build(BuildContext context) {
return Scaffold(
appBar: AppBar(
title: Text('MobX Counter'),
),
body: Center(
child: Column(
mainAxisAlignment: MainAxisAlignment.center,
children: <Widget>[
Text(
'You have pushed the button this many times:',
),
// Wrapping in the Observer will automatically re-render on changes to counter.value
Observer(
builder: (_) => Text(
'${counter.value}',
style: Theme.of(context).textTheme.headline4,
),
),
],
),
),
floatingActionButton: FloatingActionButton(
onPressed: counter.increment,
tooltip: 'Increment',
child: Icon(Icons.add),
),
);
}
}
You will notice above that we have not used any StatefulWidget instances! The state is stored in the Counter store and the Observer widget reads the counter.value to render the count. Just the simple act of reading the counter.value is enough for the Observer to start tracking and re-render on changes.
And we are done!
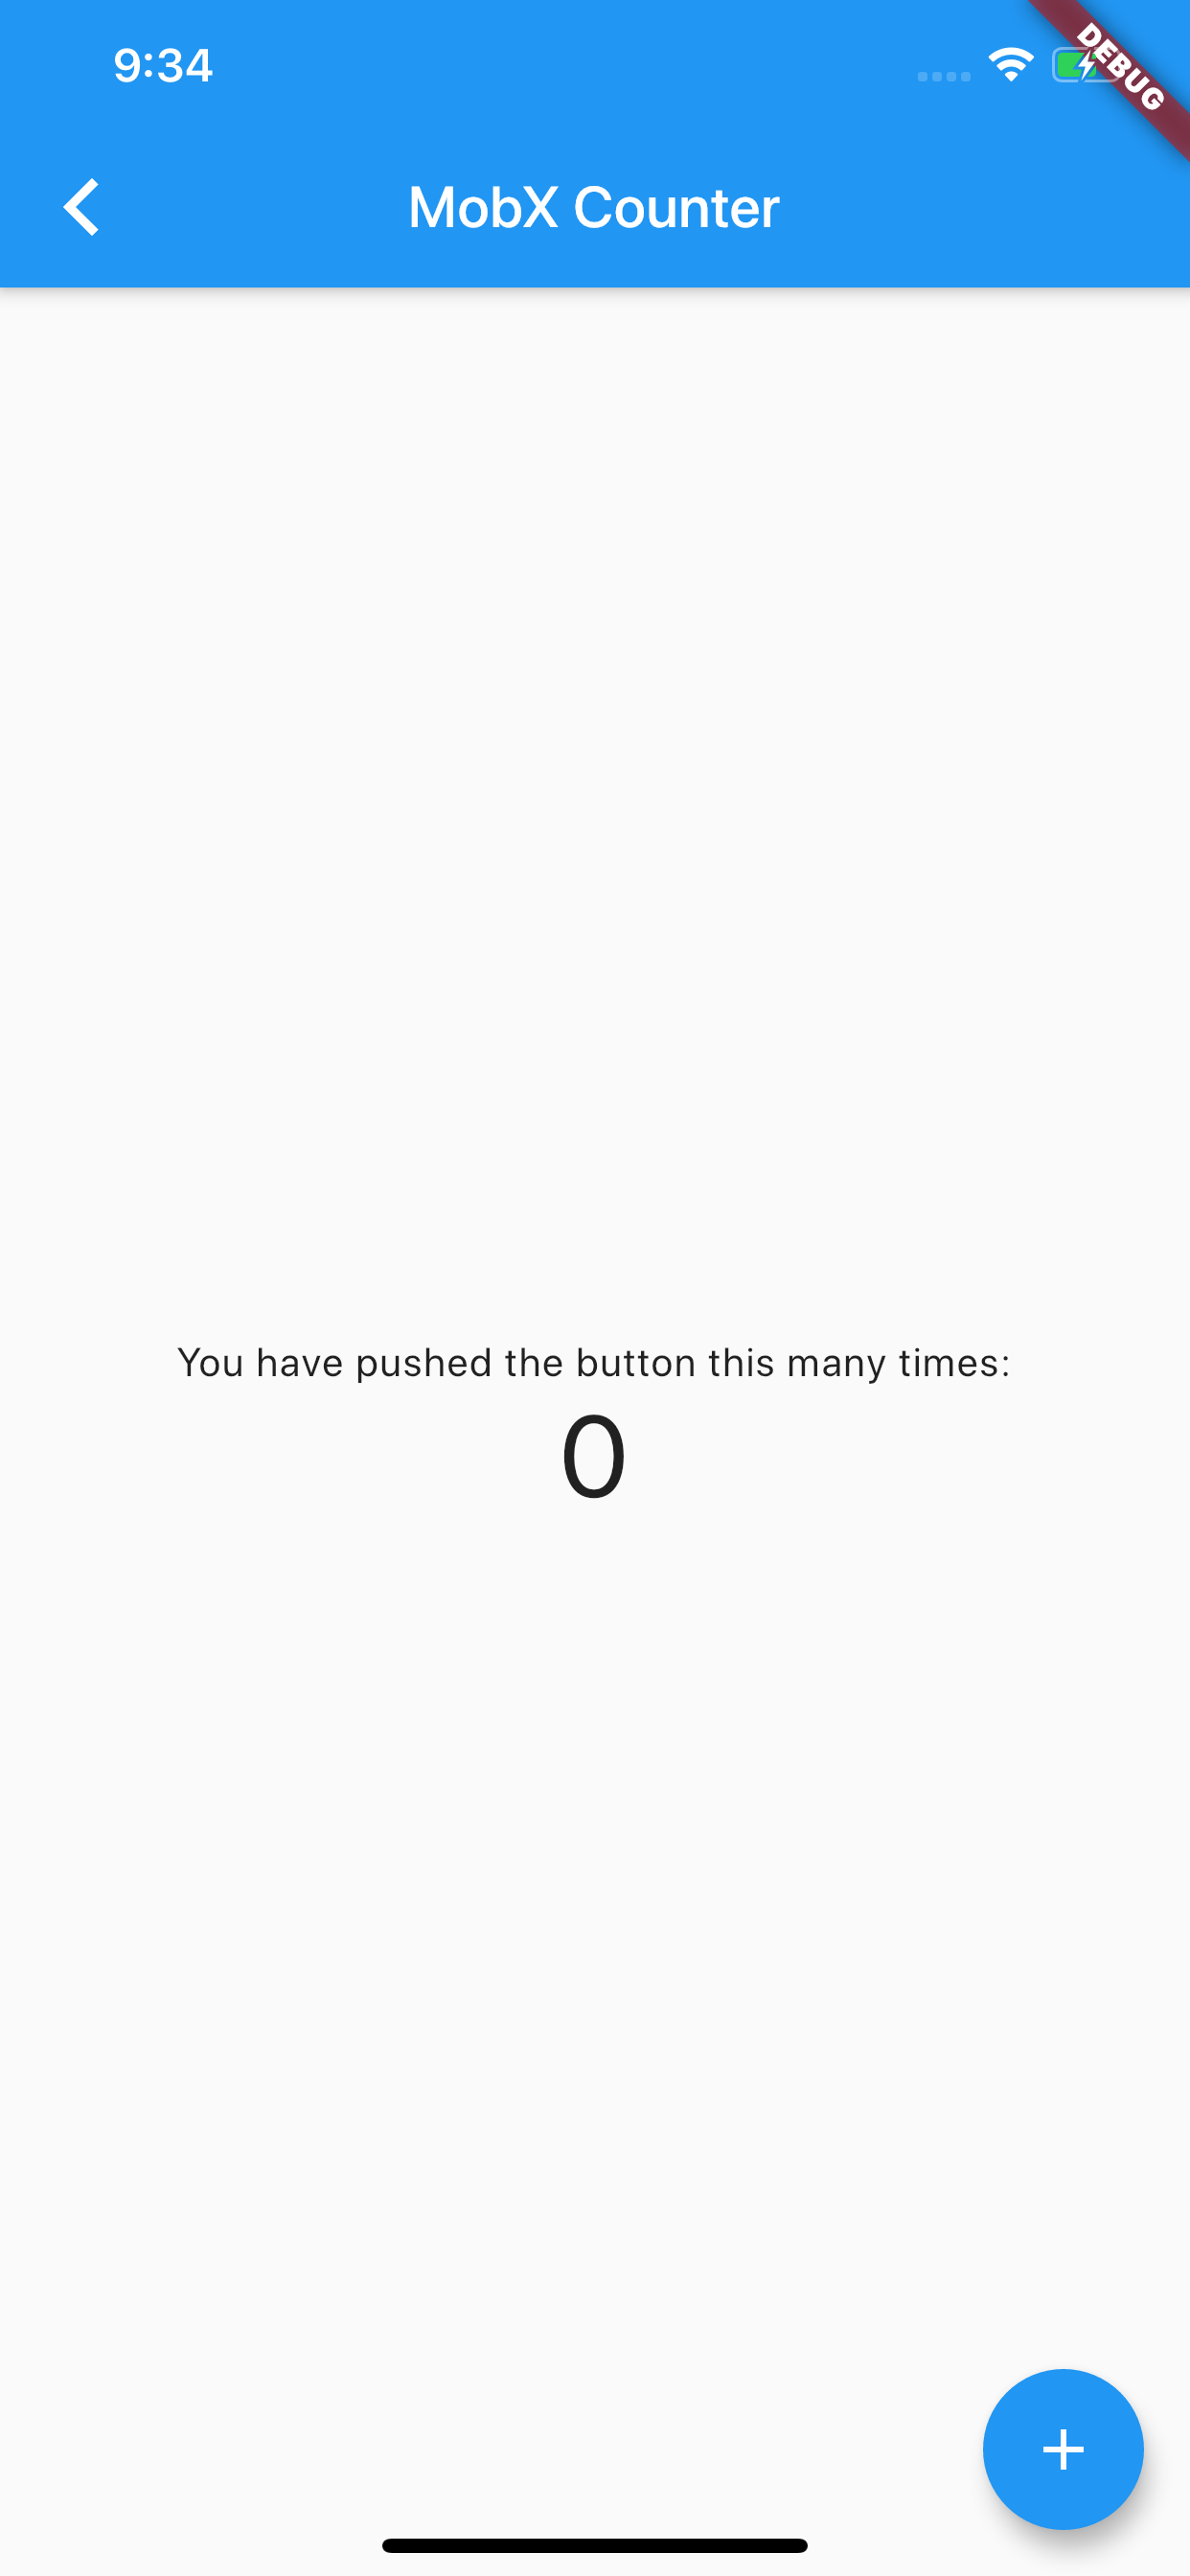
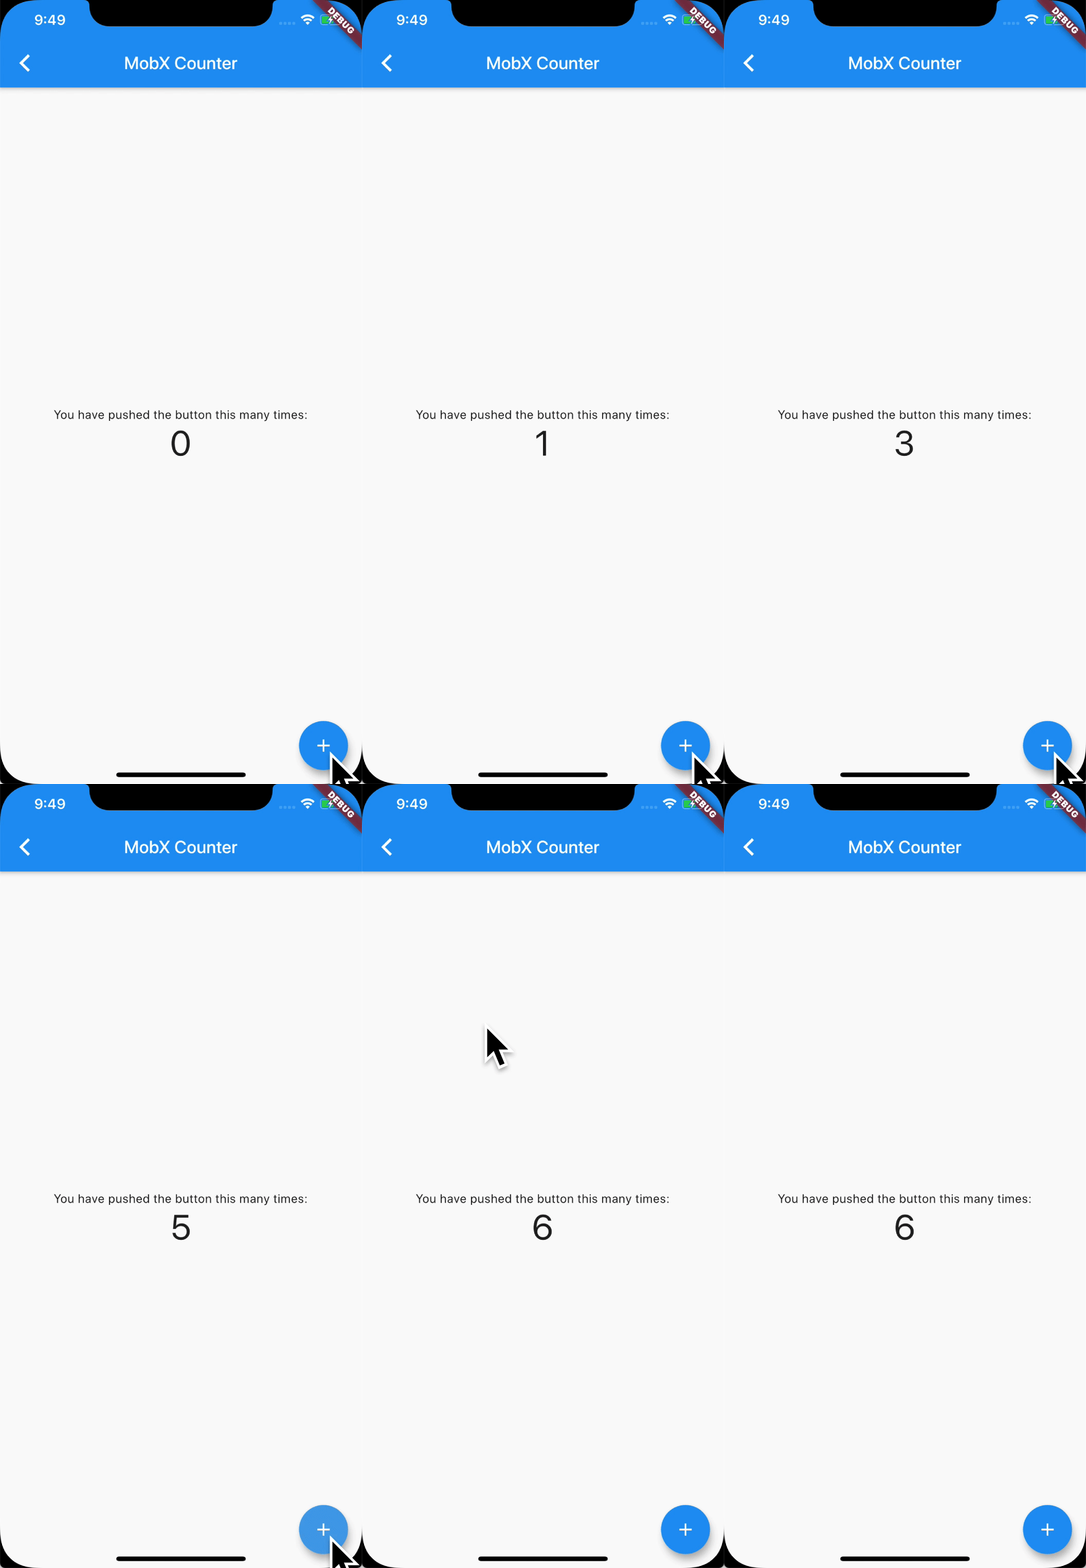
Our end result will look exactly the same as our start! As you tap on the FloatingActionButton, the counter will increment and update automatically.

Keep exploring!
Browse through other examples to get a feel for MobX. It's all about
Observables,ActionsandReactions😇. We have already looked atObservablesandActions.Reactionsare covered in other examples.